


This page will walk you through how to access your emails after the upgrade to our new Jonesen server. Step-by-step instruction for the most popular mail clients can be found below.
Accessing Webmail
You previously accessed your webmail by going to “webmail.yourdomain.com” and entering your email and password to login to the webmail portal.
To access your webmail on the new server, you will now go to:
https://burst.cloudhostvc.com:2096/
Then you will use your email/password to login to the webmail portal just like you did before.
Configuring Mail Clients
When you set up your mail-client previously, you used “stanza.websitewelcome.com” for both the incoming and outgoing server.
To configure for the new server, please replace “stanza.websitewelcome.com” with:
burst.cloudhostvc.com
Step-by-step instructions for most popular mail clients can be found below.
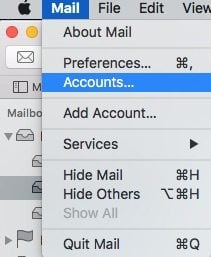
MacMail
1) Go to “Mail” on your mac and click “Accounts”
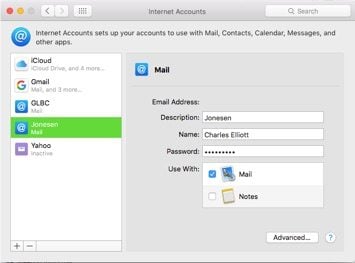
2) Select your Jonesen Hosted email account and then click “Advanced”
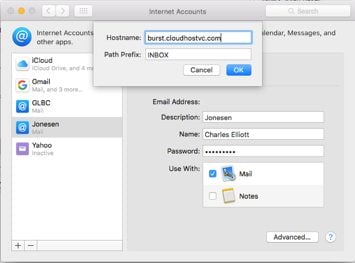
3) Update the “Hostname” field to burst.cloudhostvc.com and click “OK”
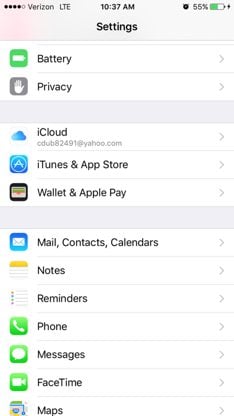
iPhone
1) Go to “Settings” and select “Mail, Contacts, Calendars”
2) Select your Jonesen hosted email account.

3) Select “Account”
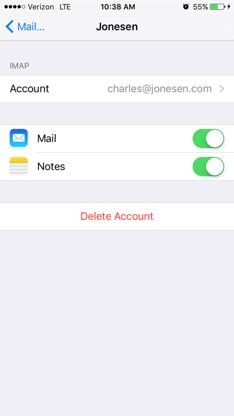
4) Under the “Incoming Mail Server” section, update the “Host Name” field to burst.cloudhostvc.com

5) Under the “Outgoing Mail Server” section, select the “SMTP” field
6) Update the “Host Name” field to burst.cloudhostvc.com

7) Select “Done” to save your changes
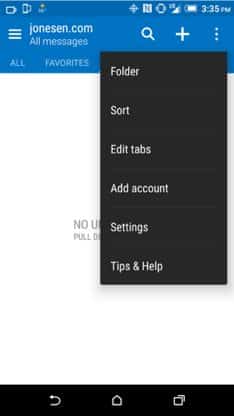
Android
1) Open Android Mail and click the menu button at the top right. From the dropdown menu, select “Settings”
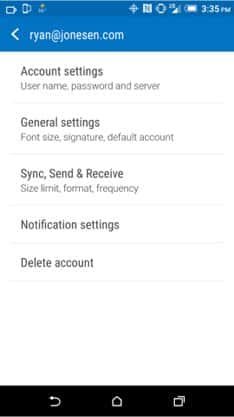
2) From the settings page, select “Account Settings”
3) Update the “IMAP Server” section to burst.cloudhostvc.com and click “Next”
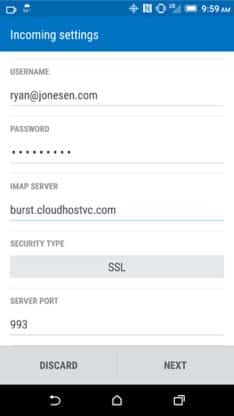
4) Update the “SMTP Server” section to burst.cloudhostvc.com and click “Next”
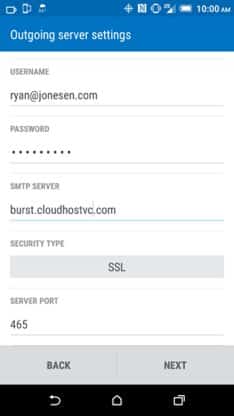
5) Click finish on the last screen to save the settings.
Outlook
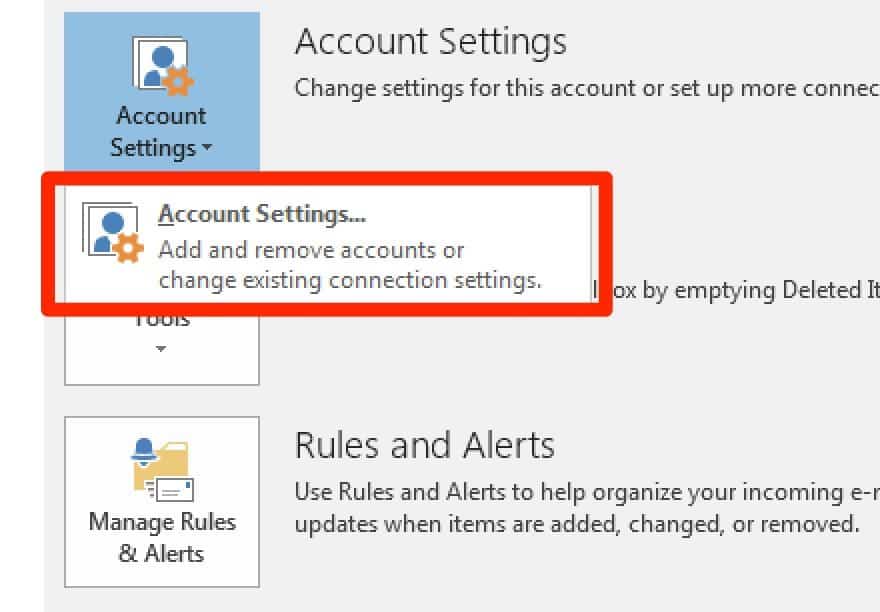
1) Go to the “Account Settings”
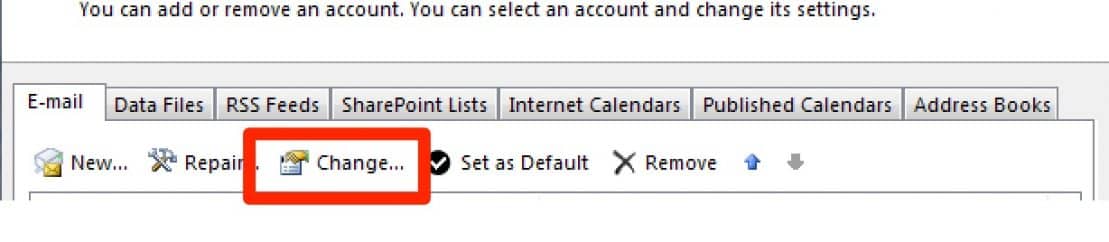
2) Under the “Email” tab – click “Change Settings”
3) Update the Incoming & Outgoing Mail Servers to burst.cloudhostvc.com and click on the “More Settings” button
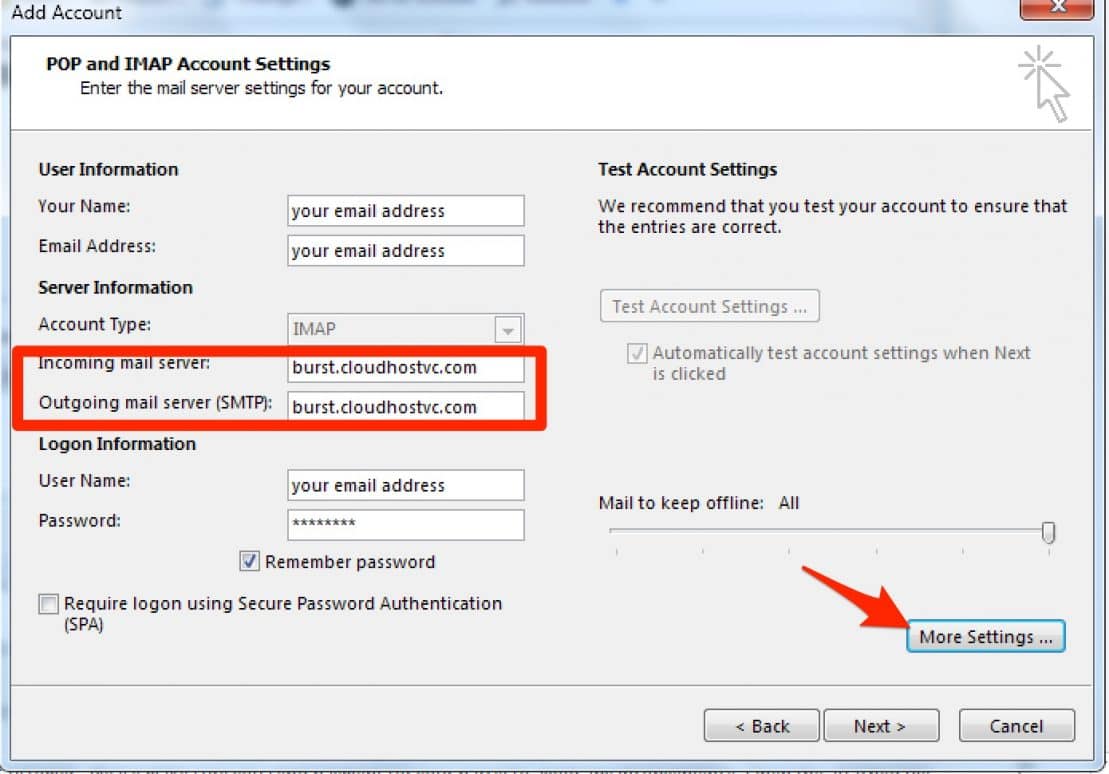
4) Under the General tab make sure your email address is showing and then click on the Outgoing Server tab
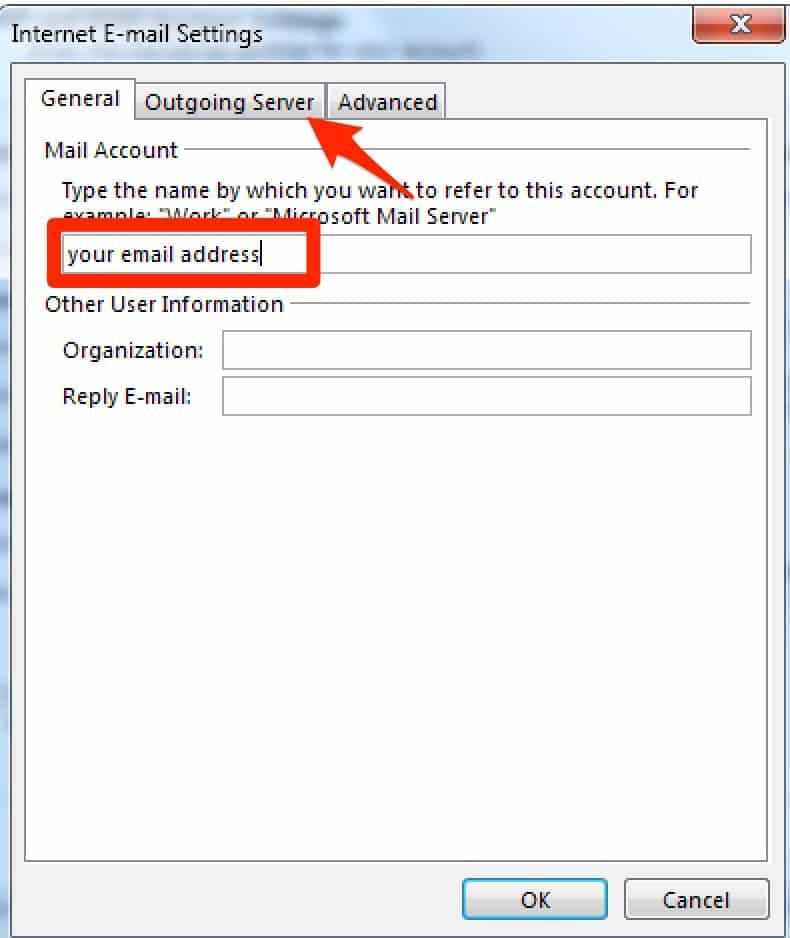
5) Check the “My outgoing server (SMTP) requires authentication” checkbox and select the “User same settings as my incoming mail server” option
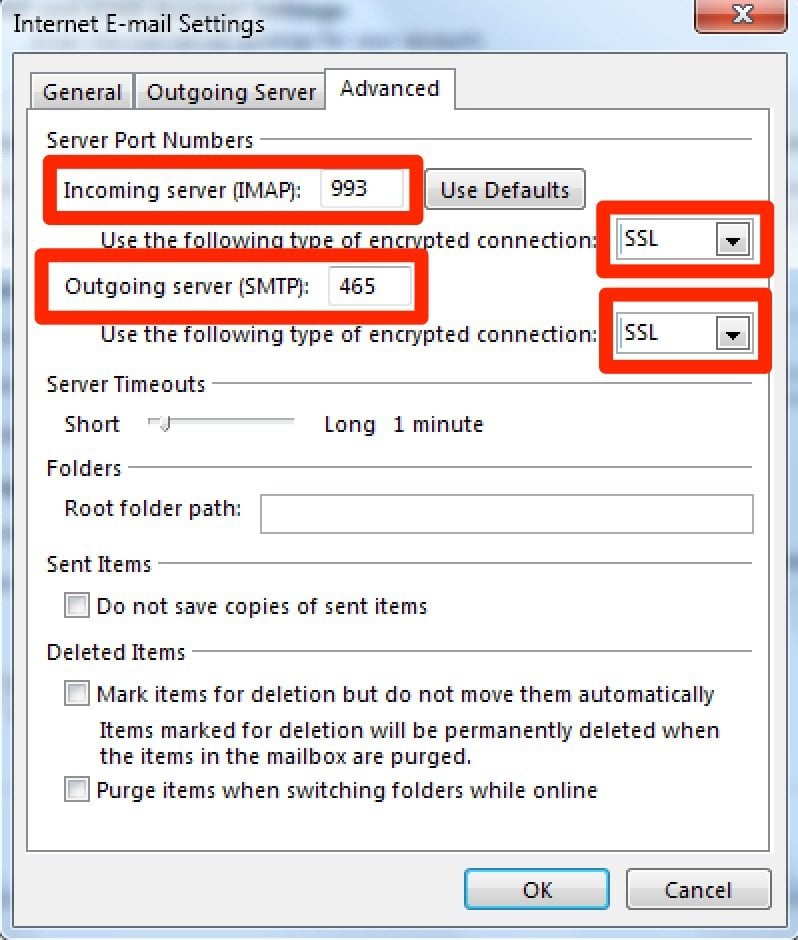
6) Switch to the “Advanced” tab and make sure that the incoming server is set to 993, outgoing server is set to 465, and both options are using SSL encryption. Press “OK” and save your settings.

You’ll need to do this on all mail-clients (Desktops: MacMail/Outlook/Etc and Mobile: iPhone/Android/Etc).
If you have any questions, issues, concerns, or comments please contact Charles: